Showing posts with label Homemade. Show all posts

Monday, July 18, 2011

Grilled artichokes for Meatless Monday

On the way back from Guido's extraordinary garden, I stopped at the market for a chicken. But what caught my eye was the artichokes for 50 cents a piece. I picked up 4 and had visions of a summer delight.

Grilled artichokes,  for me it conjures an image of cobblestone streets and ancient stone houses, grizzled old men and women whose lives you can read in their weathered faces. Simple food, fresh in from the fields, a crusty bread and wine from the grapes down the road. Oh, where was I? Right, the suburbs of Chicago. Sigh.....

But I can still have grilled artichokes.


Ingredients:
4 artichokes trimmed
1/2 cup olive oil
2 cloves garlic minced
lemon juice


For the sauce (adapted from epicurious.com)
1/2 cup mayonnaise
3 tablespoons Worcestershire sauce
2 tablespoons olive oil
2 tablespoons oriental sesame oil
1 1/2 tablespoons honey
big splash lemon juice
3/4 teaspoon salt

Mix all together  in a bowl and refrigerate
For the artichokes,
Combine olive oil and minced garlic - set aside

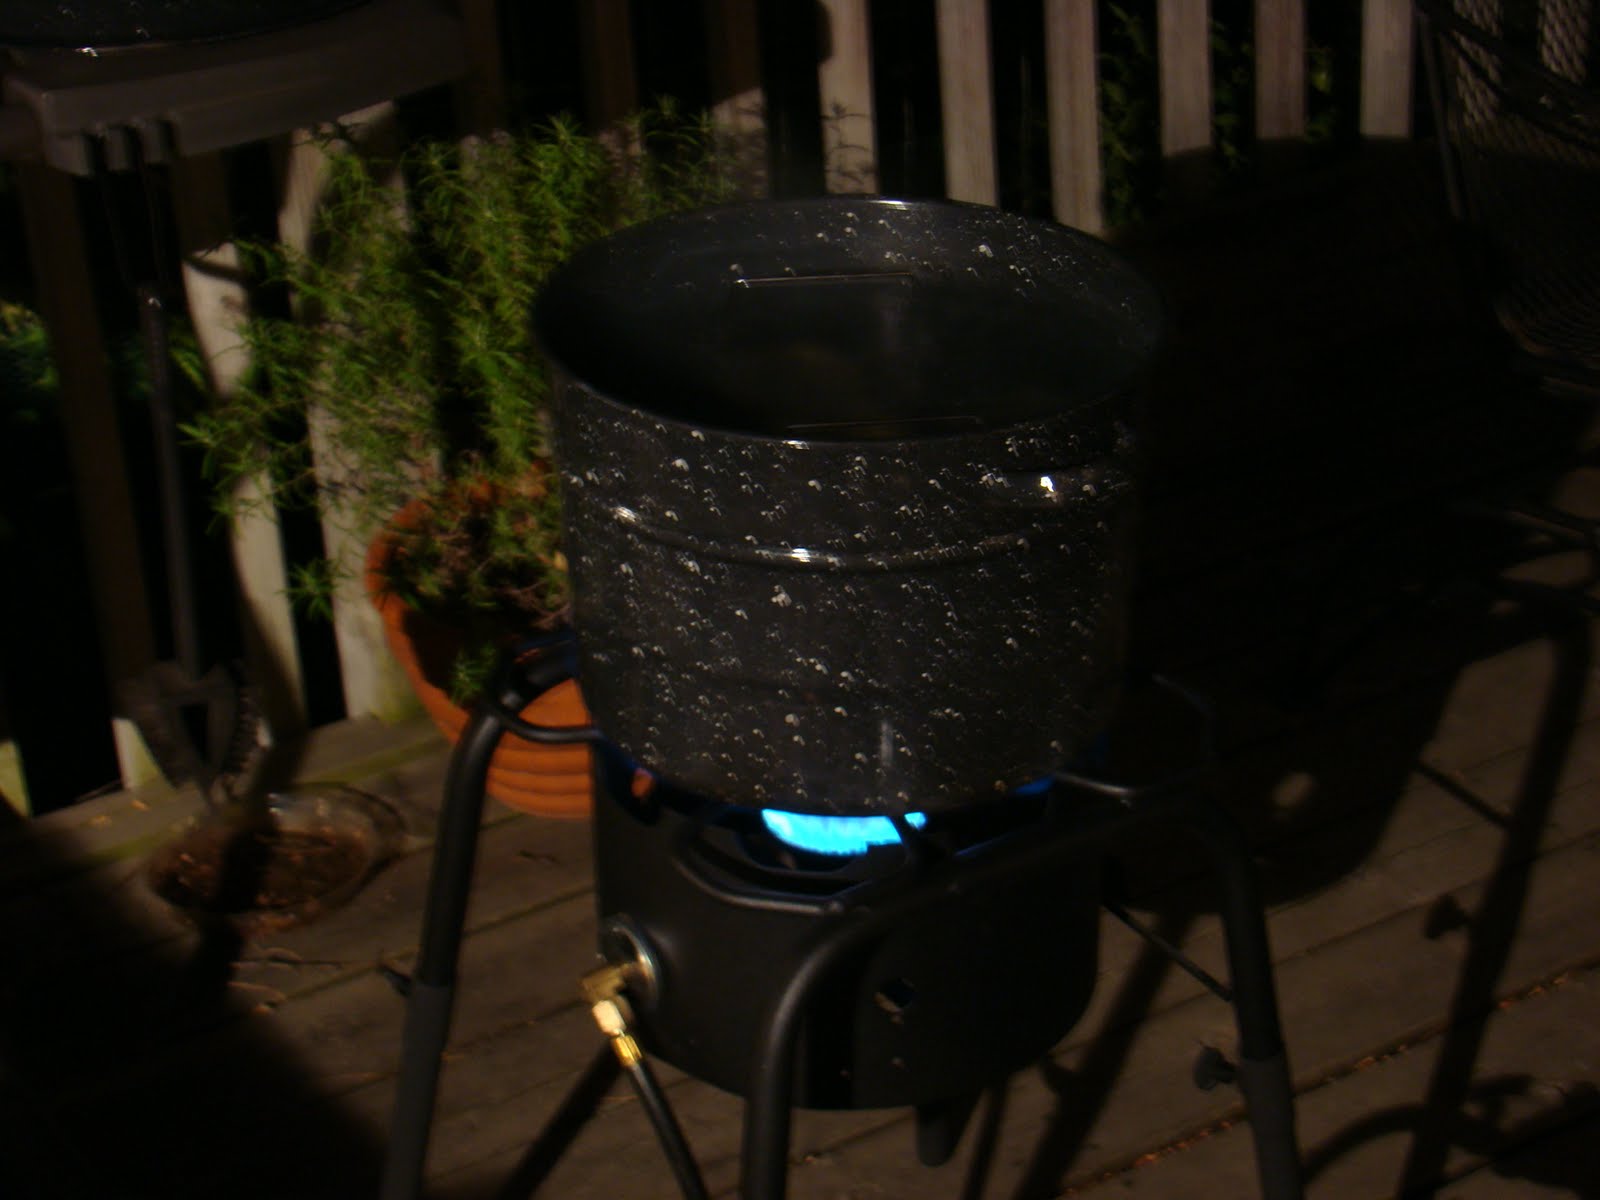
Fill a  big pot with water, add a generous 1/2 cup lemon juice

Trim the artichokes, cutting off the top 1/4 and trimming the pointy leaves with kitchen shears.


Put  trimmed artichokes in lemon-watered pot. When finished with all the artichokes, drain all but the last 1" of water in the pot, remove the chokes, place a steamer insert, put the chokes back in, cover the pot with a lid, bring to a boil and steam for 10 minutes.

Cut into halves, then quarters. Use a spoon to remove the choke, it's the feathery bits above the top of the stem (the heart). Discard the choke. In the picture below the spoon is pointing at the bits to be removed.


Finish cleaning all the artichokes.


Prepare a grill to medium high heat. For the best flavor, I'd use lump wood charcoal, but as it was 95F out, I opted for just using the handy propane grill.

Put the artichokes on the grill and brush with the prepared garlic olive oil.


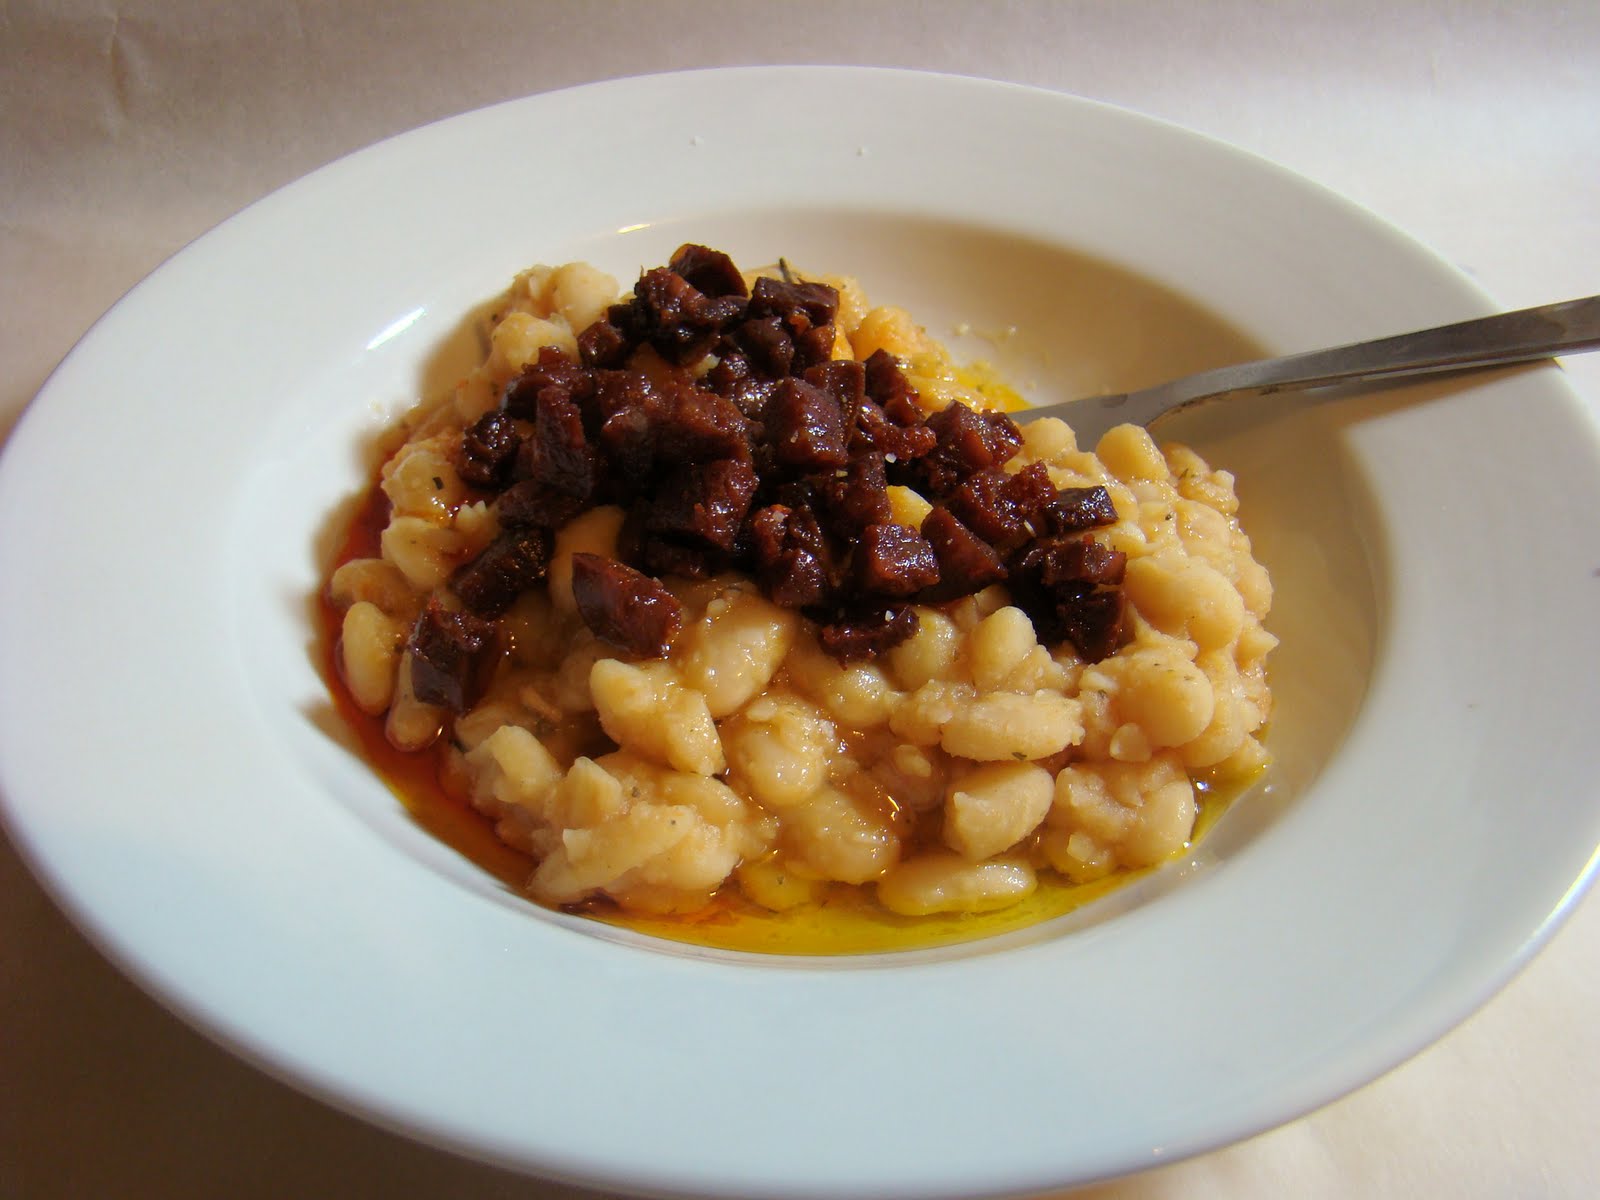
Grill until tender and artichoke have a bit of char on them. Plate and serve with Sesame dressing.
click on this picture


Under the  big sun umbrella, with my eyes closed, eating these with my fingers,  I am almost trasnsported.

Until next time, Eat Well & Keep Digging!

The Gastronomic Gardener
Garden blog http://amidwestgarden.blogspot.com/
Cooking blog http://ihopeyouarehungry.blogspot.com/
Twitter - www.twitter.com/DavidPOffutt
http://www.facebook.com/TheGastronomicGardener

Friday, July 15, 2011

First Pickles of the year

All the cucumbers I've been picking finally met their  destiny.


This isn't all of them, just the most recent pick. From the Ball Blue Book of Preserving, here's the recipe:

Ingredients:
4 lbs 4-6 inch cucumber cut into slices
2 lbs onions thinly sliced
1/3 cup pickling salt
2 cups sugar
1 tbs mustard seed
2 tsp turmeric
2 tsp celery seed ( I didn't have any so I left it out)
1 tsp ground ginger
1 tsp whole black peppercorns
3 cups vinegar

Slice up the cucumbers and onions into 1/4" slices.


Combine in a large bowl layering with the salt.

Cover with ice and let sit 1.5 - 2 hours.


Drain, rinse and drain again.

Combine remaining ingredients in large pot, bring to a boil.

Add drained cucumbers and onions, return to a boil.

Pack hot pickles and hot liquid into hot jars, leaving 1/4" head space. Remove air bubbles.

Adjust 2 piece caps. Process 10 minutes in a boiling water canner. The new 60,000 btu burner works wonders!


Remove from canner and place in cool spot away from drafts or temperature fluctuations. Here they are right out of the canner. The recipe indicates 7 pints but I never get what the recipe says, always 1 or 2 short. Doesn't matter if it's pickles or salsa; I'm always a few pints short of a full batch. ;)


When cool, check seal and label.

Allow 4 to 6 weeks for pickles to develop full flavor.

(DISCLAIMER: This is not step by step all inclusive instructions. If you choose to can produce or other foods, please get proper equipment and instructions and follow them to the letter. The risk of serious food borne illness is very real. Proceed at your own risk.) -


Until next time, Eat Well and Keep Digging!


The Gastronomic Gardener
Garden blog http://amidwestgarden.blogspot.com/
Cooking blog http://ihopeyouarehungry.blogspot.com/
Twitter - www.twitter.com/DavidPOffutt
http://www.facebook.com/TheGastronomicGardener

Sunday, May 29, 2011

Merguez - Spicy lamb sausage


Since I was ordering from the butcher anyway, I decided to order some lamb shoulder to make some Merguez, a spicy lamb sausage from North Africa. I figured it would be great slow roasted on the grill.

This adapted from Charcuterie by Michael Ruhlman and Brian Polcyn.  You'd think that I'm getting a cut but no, I'm just loving the cookbook.

Ingredients
3.5 lbs diced lamb shoulder
1.5 lb lamb fat diced
1.5 oz Kosher Salt
2 tsp sugar
1 tsp red pepper flakes
2 Tbs minced garlic
1.5 cups diced roasted red pepper
1.5 tsp freshly ground black pepper
2 Tbs Spanish paprika (I used Picante, you could use Dulce)
2 Tbs minced fresh oregano
1/4 cup dry red wine, chilled
1/4 cup ice water


20ft sheep casing soaked and rinsed

Directions:
Combine all ingredients except the water and wine (OR casings!) and toss to distribute the seasonings.


Chill until ready to grind. In this case it was from about 3 to 9 the next morning.

Grind mixture through small die,  add water and wine to meat mixture and mix until liquids are incorporated and the mixture has developed a uniform sticky appearance. Sorry for no pictures but this sausage is red from the paprika. Working the grinder/ mixer/stuffer was difficult enough as it was without trying to capture action shots. Sorry for that.

Cook a small sample for taste test. (delicious)

Stuff into lamb casings and twist into 10" links. Refrigerate or freeze until ready to use. Well that's in instructions but  I coiled some up and left some long. The coils work great on the grill with a couple skewers threw them.  They are chilling for now getting ready to be frozen.


To cook roast (or grill on indirect heat) or gently saute to an internal temp of 150F.


Served with rice, garlic chili sauce and a simple salad.


Until next time, Eat Well & Keep Digging!


The Gastronomic Gardener
Garden blog http://amidwestgarden.blogspot.com/
Cooking blog http://ihopeyouarehungry.blogspot.com/
Twitter - www.twitter.com/DavidPOffutt
http://www.facebook.com/TheGastronomicGardener

Saturday, April 16, 2011

Creamy white beans and Chorizo


It's cold and rainy today, a good day for a hearty hot dinner.  Beans are a staple in the pantry and I like white beans that can be cooked long to the point of being creamy. Spanish chorizo is also one of my favorites, its color and flavor unmatched. Let's combine the two, creamy base note beans, and sharp sausage for a satisfying dinner.

I cook the beans almost like risotto, slowly adding stock as needed to keep the beans loose but not soupy.

The vegetable mixture is completely flexible, use what you want. here is what I did,

Ingredients:
Soaked white beans (I'm using great northern beans)
4 cups Chicken stock
1 tsb olive oil plus extra for drizzling
1/2 tsp salt
1 carrot finely diced
2 clove garlic minced
1/4 cup onion minced
1/2 tsp dried herbs I used (herbs de provence)
3 oz spanish chorizo diced
Salt & pepper to taste


Directions:
Add olive oil to sauce pot over medum high heat

Add diced carrots and salt, stir and cook about 3 minutes, reduce heat to medium,


Add onions, stir and cook another 5 minutes,


Add garlic, stir and cook 1 minute.


Add the soaked and drained beans and stir.


Add enough stock to just cover, bring to boil then reduce heat to medium low,


Put a lid on it, but leave it cracked, simmer for about 30 minutes stirring occasionally.

Add the dried herbs.

Add stock as needed to just keep the beans covered. When beans are tender - mash about a third of them and stir back into the rest of the beans.


Meanwhile....

Add diced chorizo to a small sauce pan over medium high heat until a slight crust starts to form. Drain excess fat.

Spoon beans into bowl, top with about 1/2 the sausage, drizzle with olive oil.


Creamy beans, crunchy salty spicy sausage. Life is good.

Until next time, Eat Well & Keep Digging!


The Gastronomic Gardener
Garden blog http://amidwestgarden.blogspot.com/
Cooking blog http://ihopeyouarehungry.blogspot.com/
Twitter - www.twitter.com/DavidPOffutt
http://www.facebook.com/TheGastronomicGardener

Tuesday, April 5, 2011

Chicken Liver Pate


I love pate, preferably duck liver, but I also like chicken liver pate. There is a party Saturday and I wanted to practice. This recipe is adapted from Food Network.

Ingredients:
1 lb fresh chicken livers, cleaned
1 cup milk
1 stick cold  unsalted butter, cut into pieces
1 cup chopped yellow onion
2 tsp minced garlic
1 tbs capers drained
2 bay leaves
1/2 tsp dried thyme or 1 tsp fresh chopped
1/2 tsp salt
1/2 tsp freshly ground black pepper
1/4 cup brandy or cognac


Directions:
Soak  the livers in milk for 2 hours, drain well.


Over medium high heat in a heavy skillet, melt half the butter. Add the onions  and cook stirring about 3 minutes.


Add the garlic, cook for 30 seconds.

Add chicken livers, the capers, bayleaves, thyme, salt, and pepper and cook  until livers are browned on outside, but still pink on inside.  (Funny instructions, how are you supposed to tell  without cutting them open?)  Anyway that's about 5 minutes.

Add the cognac and cook  until most of the liquid is gone and the livers are tender.


Remove from heat and let cool slightly, throw away the bay leaves.

Puree the  the liver mixture in a food processor, add the remaining butter and pulse to blend.  It's not very pretty.


Check seasonings and pack into ramekins, cover in plastic and refrigerate 5-6 hours.


Serve with small toast rounds, good mustard, cornichons, and capers. It is delicious liver spread. I'll make this for sure for the party!


Until next time, Eat Well & Keep Digging!

The Gastronomic Gardener
Garden blog http://amidwestgarden.blogspot.com/
Cooking blog http://ihopeyouarehungry.blogspot.com/
Twitter - www.twitter.com/DavidPOffutt
http://www.facebook.com/TheGastronomicGardener

Sunday, March 13, 2011

Baked Chicken wings


My dear friend turned 50 today, hard to believe we've been friends since 1976! The invite to the party said bring an appetizer and a bottle of wine.

Wings always go over very well, and they are a snap to make. My only complaint is that they used to be very inexpensive and in the last couple years the price hase risen beyond that of chicken legs.  Seem ridiculous to me.

Preheat oven to 350F.

I bake these, though traditionally they are fried. 

I shake them in a mixture of flour, salt, garlic powder, hot paprika, chili powder, and black pepper.


These are some big wings!


Separate them at the joints, reserve the tips for stock.


Put the flour, spices, and salt into a large plastic bag, shake to combine.


Add the cut wings - except for the tips in the bag. Toss to coat. Arrange in a single layer on a parchment paper lined cookie sheet.


Bake in the oven for an hour. Turn once at 30 minutes.


Toss in a large bowl with your favorite sauce. Traditional is a mix of hot sauce (vinegar based) and melted butter. I used Flaming Joe's Original Style Carribean  Jerk Sauce.


Serve with Celery sticks and bleu cheese dressing.

They were a big hit, and were gobbled up quickly. I love bringing home a clean plate!

Until next time Eat Well & Keep Digging!


The Gastronomic Gardener
Garden blog http://amidwestgarden.blogspot.com/
Cooking blog http://ihopeyouarehungry.blogspot.com/
Twitter - www.twitter.com/DavidPOffutt
http://www.facebook.com/TheGastronomicGardener

Sunday, March 6, 2011

Korean BBQ

Lets try this again, last time I bought the beef short ribs but they were the wrong cut for this, though they were excellent braised. This time,  I purchased the right ones.

I've been wanting to make this for a long time so finally we're going to. This recipe is adapted from Allrecipes.com.  I scaled it as I have 1.5 lbs of short ribs. I'm sure the recipe isn't super authentic, b ut let's see what happens anyway.

Marinade Ingredients:
3/4 cup soy sauce
3/4 cup white sugar
3/4 teaspoon ground black pepper
3-3/4 cloves garlic, chopped
2-1/4 green onions, chopped
4-1/2 teaspoons Asian (toasted) sesame oil
3/4 teaspoon sesame seeds


Make the marinade:
Whisk together the soy sauce and sugar in a bowl until the sugar has dissolved.


Stir in the black pepper, garlic, green onions, sesame oil, and sesame seeds.


For the ribs:
1-1/2 pounds Korean-style short ribs (beef chuck flanken, cut 1/3 to 1/2 inch thick across bones)

Remove any extra fat, sprinkle with sugar and allow to rest 15 minutes.


Place the ribs in a large plastic sealable bag, and pour the marinade over the ribs. Squeeze out the air and seal.


Shake to coat the ribs with the marinade, and refrigerate. Massage the marinade into the ribs a few times, making sure all the meat contacts the marinade.

Preheat an outdoor grill for medium-high heat, and lightly oil the grate.

Remove the ribs from the marinade, discard the marinade, and grill the ribs until brown and no longer pink in the center, about 5 minutes per side.
 
Serve with Kimchee. The ribs were tender, salty/sweet. The sour pickle-like kimchee packed quite a wallop of chili heat. A really great combination. I'll make this again in the heat of the summer with an ice-cold beer!


Until next time, Eat Well & Keep Digging!

The Gastronomic Gardener
Garden blog http://amidwestgarden.blogspot.com/
Cooking blog http://ihopeyouarehungry.blogspot.com/
Twitter - www.twitter.com/DavidPOffutt
http://www.facebook.com/TheGastronomicGardener
Related Posts Plugin for WordPress, Blogger...